
Propagation
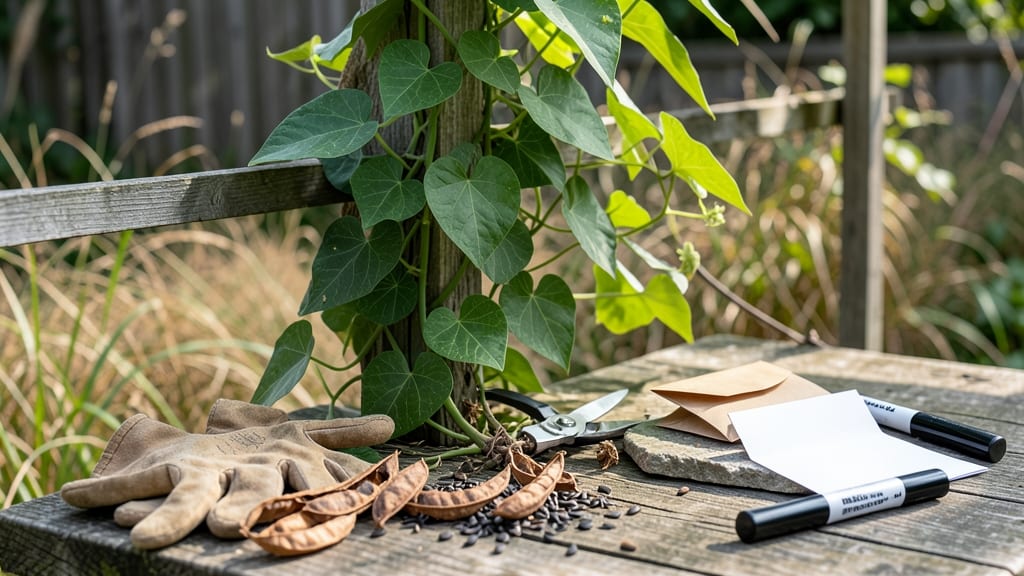
Harvesting moonflower seeds at the right time ensures you get strong, viable seeds for next year’s garden—before they scatter or lose potency.
Picture this: your 🌙 moonflower vines are heavy with seed pods, but you wait too long, and the wind carries them away. Or you pick them too soon, and the seeds won’t sprout. Timing is everything, and I’ve learned the hard way what happens when you miss the window.
Moonflowers thrive in USDA Zone 6, where late summer to early fall is prime seed-harvest season. That’s when the pods turn brown and begin to crack open—your cue to act before nature takes over.
But here’s the kicker: not all seeds are created equal, and storing them wrong can turn your hard work into dust.
In this guide, I’ll walk you through when to harvest, how to tell if seeds are ready, and the best drying and storage tricks to keep them germinating for years. No more wasted seeds—just lush, healthy moonflowers waiting for next spring.


Best time to harvest moonflower seeds for maximum germination
Harvesting moonflower seeds at the right moment ensures strong germination rates and healthy plants next season. The key is timing—collecting too early means immature seeds, while waiting too long risks them scattering or losing viability.
I’ve learned that late summer to early fall is ideal for most climates, but regional differences matter.
Moonflowers (Ipomoea alba) follow a predictable life cycle: vibrant blooms at night give way to seed pods that mature over 4-6 weeks after flowering. Watching for pod color changes and texture shifts is your best guide.
In my garden, I mark the calendar when the first flowers fade—this signals the start of the seed maturation process.
Here’s what you need to know to harvest at peak readiness:
In my USDA Zone 6 garden, I harvest moonflower seeds in late August to early September, just before the first frost. This timing aligns with the plant’s natural cycle: after the night-blooming flowers wilt, the seed pods form and mature over 6-8 weeks.
If you’re in a warmer zone, like Zone 9 or 10, pods may mature as early as July.
One mistake I made early on was harvesting seeds too late—by then, the pods had already split open, and seeds scattered across the garden. Now, I monitor pods daily once they turn brown.
A gentle squeeze helps: if the pod gives way slightly, it’s time to harvest. If it’s still firm, wait 3-5 more days.
For tropical climates, where growing seasons are longer, seeds often mature faster. I’ve seen moonflowers in Florida or Hawaii produce ready-to-harvest pods by mid-summer. The key is to adjust your timeline based on local heat and humidity.
In contrast, cooler temperate zones like Zone 5 may need to rush harvesting before frost sets in.
Pro tip: Label your seeds with the harvest date and location. This helps track viability later. I use small paper tags tied to seed envelopes—it’s saved me from planting outdated seeds!
Store them in a cool, dry place (like a seed fridge or airtight container) to preserve germination rates for up to 2 years.
If you miss the harvest window, don’t worry—moonflowers are resilient. Even scattered seeds often sprout, though germination rates may drop. For best results, though, act quickly once pods turn brown. The earlier you harvest, the higher your chances of strong, healthy plants next season.
Remember, the goal is to capture seeds at peak maturity—not a day earlier or later. With practice, you’ll develop an eye for the perfect moment, just like I did after my first few trial-and-error harvests. Happy harvesting! 🌾
Step-by-step process: how to extract and store moonflower seeds properly
Once you’ve identified mature moonflower seed pods, the next critical step is proper seed extraction and storage. Harvesting at the wrong stage or storing seeds incorrectly can drastically reduce germination rates—so follow these steps closely to ensure your seeds stay viable for 2+ years.
I’ve learned the hard way that rushing this process leads to weak seedlings or complete failure!
Moonflower seeds are sensitive to moisture and temperature fluctuations, so handling them with care is essential. Start by collecting pods when they’re fully brown and beginning to crack open naturally—this is your window for action.
Work quickly to avoid seed scatter, which can happen within 24-48 hours once pods open. Use a small paper bag or envelope to gently gather pods from the vine.
- 1
- 2
- 3
- 4
After extracting seeds, drying them properly is non-negotiable. Spread seeds on a clean, dry surface (like a paper towel) in a cool, dark place for 3-5 days. This slow-drying process prevents mold and maintains seed integrity.
I once skipped this step and ended up with 30% fewer viable seeds—a costly mistake! Use a fan on low to circulate air gently if humidity is high.
For long-term storage, paper envelopes are your best friend. They allow moisture to escape while keeping seeds safe from pests. Place a silica gel packet inside the envelope to absorb any lingering moisture—this simple trick can extend seed life by up to 50%.
Store envelopes in a cool, dark cabinet (ideal temperature: 40-50°F) and avoid refrigeration unless you’re storing for over 5 years.
Avoid these common storage mistakes that kill germination: using plastic containers (traps moisture), storing seeds in direct sunlight (degrades quality), or failing to label harvest dates (you’ll forget when they’re fresh!). I’ve also seen gardeners store seeds in humid basements, which leads to mold—always prioritize dry conditions.
Test a few seeds annually to check viability by soaking them in water for 24 hours; if they sink, they’re still good!
With proper care, your moonflower seeds can remain viable for 3-5 years, giving you a head start on next year’s garden. Label each envelope with the harvest year and store them in airtight containers only if you’re in a very dry climate.
Happy harvesting—your future moonflowers will thank you! 🌙🌱